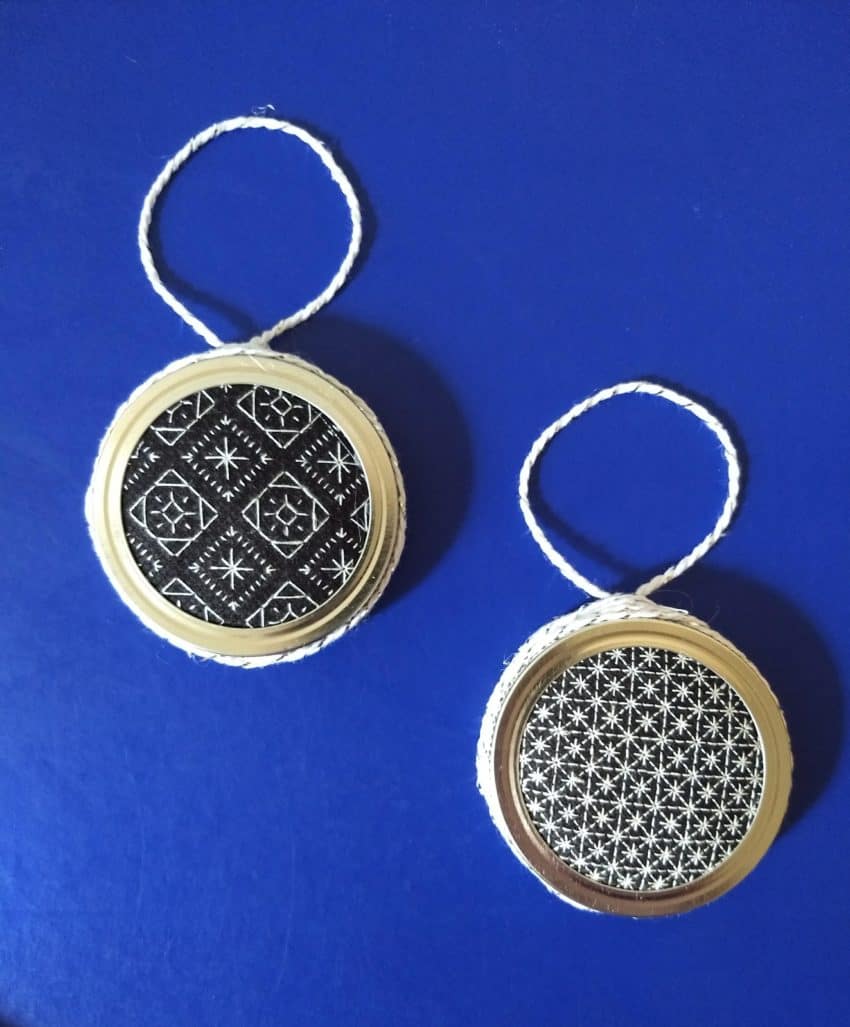
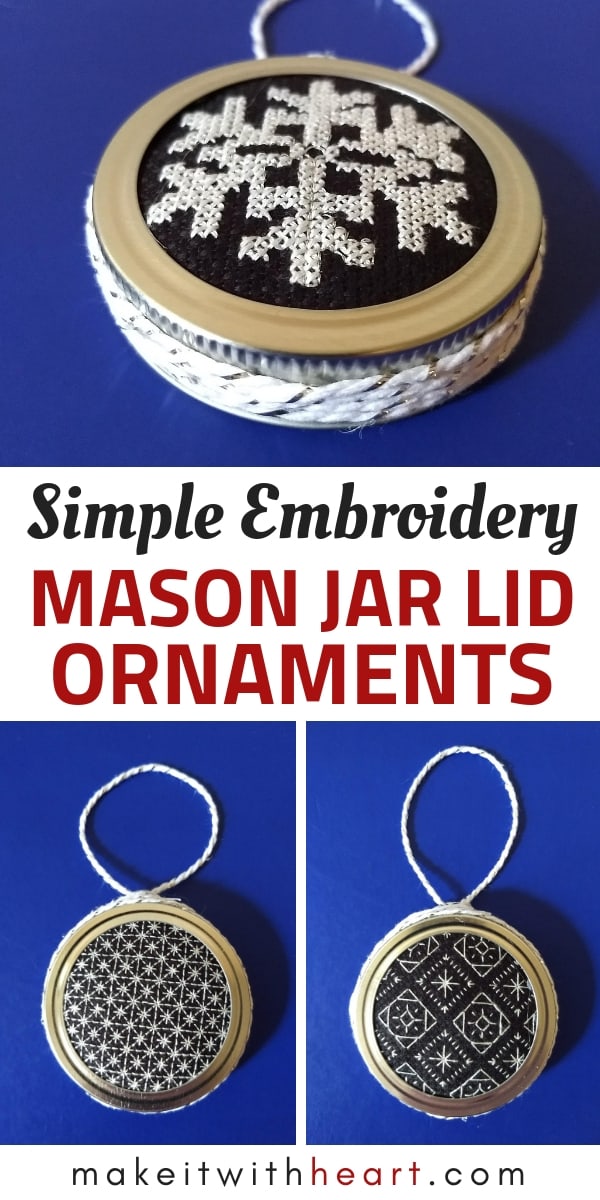
As promised in my last post, I did follow through with making a few Christmas ornaments (I'm not always the best at actually finishing projects, so this is a big deal for me!).
Since my other work in progress right now is much more complicated, I wanted a side project that I could stitch up while watching TV at night without having to pay too much attention to a pattern. So I used the mini snowflake I'd already cross stitched up for one ornament, and then I improvised some easy blackwork patterns for a few more.
Blackwork is similar to cross stitch in that it also uses a grid with counted stitches. All you need to know is how to backstitch and you just follow the lines on the chart.
SUPPLY LIST:
- embroidery floss -- I used DMC 3865 Winter White, but you could certainly experiment with other colors!
- Aida cloth -- Again, feel free to experiment with different colors. Red or green thread on white Aida, for example, would naturally look good for Christmas ornaments. I used 14 count black Aida with the white thread, since I was going for a minimalist/modern sort of look.
- size 24 tapestry needle
- mason jar lids -- I had a bunch of lids leftover from another project I did with 8 oz. mason jars. You could also make these ornaments with the lids from the larger, 16 oz. mason jars if you have those on hand, it will just take a bit longer to stitch up the designs of course.
- hot glue gun
- twine -- I found this fun white and silver twine at Michael's, but you could use the standard brown jute twine instead to give the ornaments a more rustic feel.
- felt -- I didn't have any on hand, so I picked up a sheet of gray felt at Michael's. Color choice isn't terribly important since it's just for the backing.
- chalk (or an embroidery pen or marker to trace circles on the Aida and felt).
- scissors
How to Make Simple Embroidered Christmas Ornaments with Mason Jar Lids
I made mine one at a time since I was still making tweaks to the designs and the assembly, but you could easily make a whole batch of them to give out separately as Christmas gifts. Or use the whole bunch on your own tree for a cohesive look! Obviously, the embroidery step will take the longest either way, but you could definitely save some time by cutting out all the Aida cloth and felt circles all at once.
Preparing the Aida Cloth
You can make a bunch of ornaments with just one sheet of Aida if you trace the mason jar lids close enough together. Since I didn't bother using an embroidery hoop or frame while stitching these, I just went as close to the edge of the Aida as possible since I wouldn't need a margin around the embroidery.

Step 1: Lay your mason jar lid down, starting in a corner for your first one if you're planning to make more and don't need wide margins.
Step 2: Trace the lid with chalk (or an embroidery pen/marker if you're using lighter colored Aida).
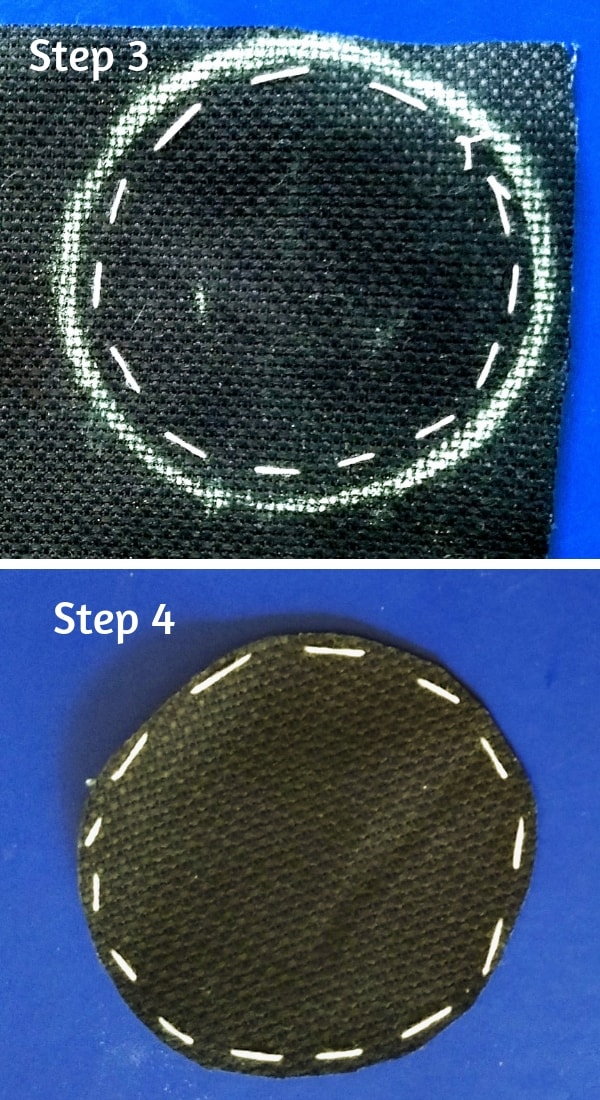
Step 3: Make a running stitch around the inside of the chalk circle to keep the Aida from fraying after you cut it out. This will be hidden by the mason jar lid when you assemble the ornament, so don't worry too much about making it look neat or hiding waste knots.
Step 4: Cut out the Aida on the innermost side of the chalk circle.
Preparing the Felt Backing
You don't necessarily have to get the felt ready before you embroider, but I liked doing it in this order to make sure the circles of both Aida and felt were the right size before getting started. Then once the embroidery is finished, you can get right to ornament assembly!
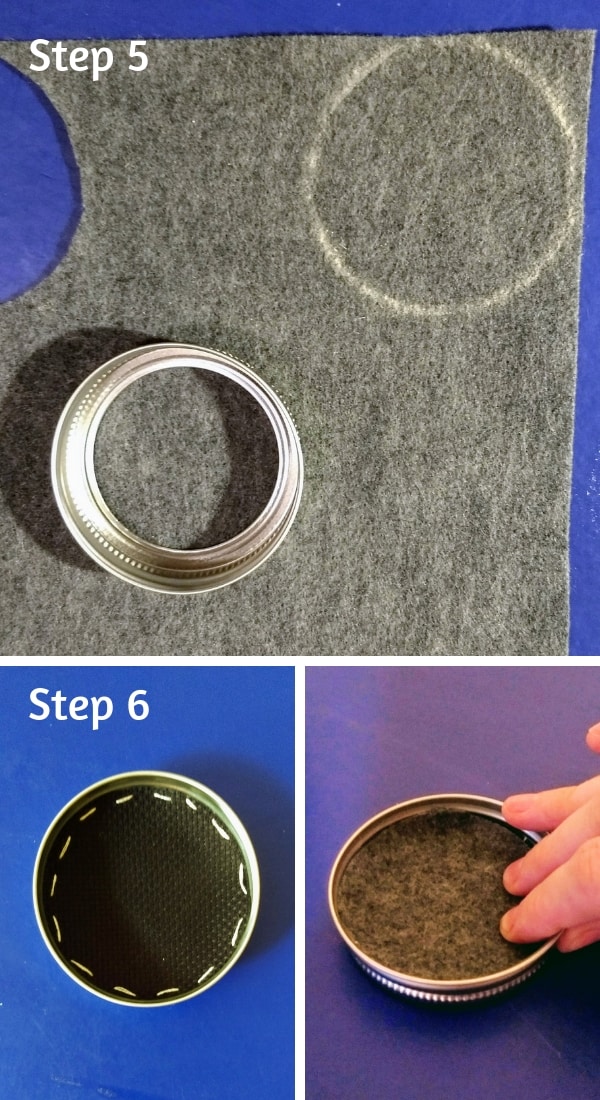
Step 5: Use the mason jar lid again to trace a circle on the felt. I used my chalk again because it was handy. Cut the felt circle out.
Step 6: First place the cut-out Aida into the mason jar lid, and then put the felt circle in on top of the Aida. Smush down the two circles to make sure they're a good fit and lie flat inside of the mason jar lid, and double-check that you don't see any of the running stitch when you flip over the mason jar lid. Remove the circles, trim any jagged edges if necessary, and set the felt circle aside for now.
Blackwork Embroidery Patterns for Christmas Ornaments
Step 7: Choose a design and stitch it up!
Grab the snowflake cross stitch pattern here -- the one labeled "mini" just barely fit inside of my small mason jar lids on 14 count Aida.
For the blackwork embroidery ornaments, feel free to use my designs below (or come up with your own!). Once I figured out the basic pattern I wanted, I just repeated it until I reached the running stitch along the perimeter, so the patterns are just to give you an idea and aren't in the shape of a circle.
Ornament Pattern 1 // Ornament Pattern 2 // Ornament Pattern 3
Assembling the Ornaments
It took me a few tries to get this part right, and I need to go back and re-glue a couple of my ornaments in a few places. But I'm overall happy with how they turned out considering how new I am to this craft!
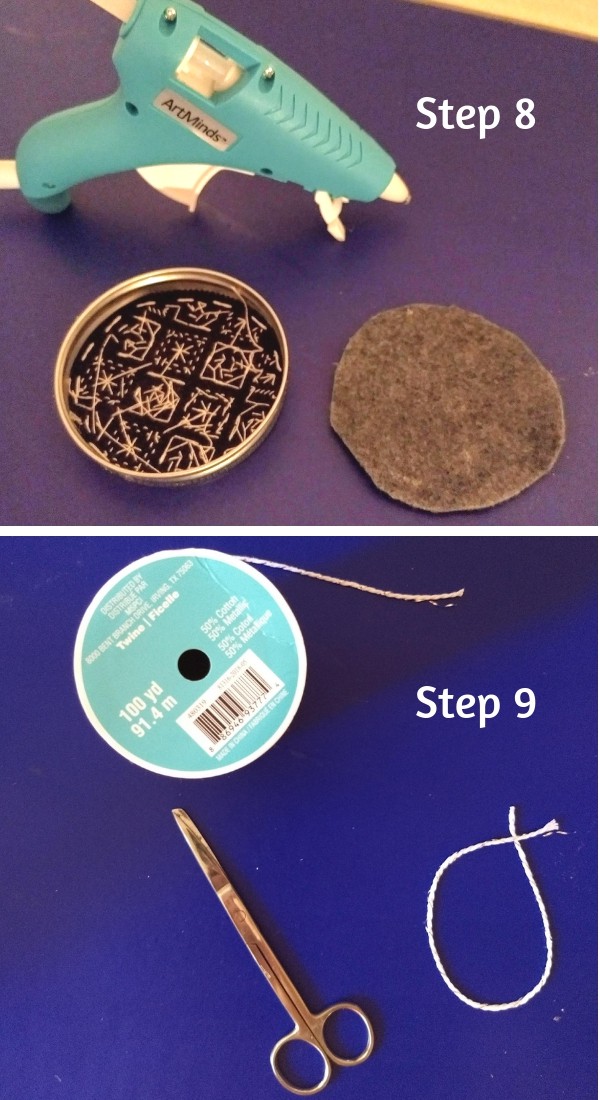
Step 8: Using your hot glue gun, apply glue to the inside of the mason jar lid and affix the embroidered Aida cloth. Use a thin line of glue so that it doesn't spill over onto the front of the Aida when you press it down. Then hot glue the felt circle on top of the Aida.
Step 9; Cut out two lengths of twine, using the mason jar lid to measure. One piece of twine will be for the ornament hanger and should be about long enough to go around the outside of the lid once (shown above); the other piece should be long enough to wind around the outside of the lid several times.
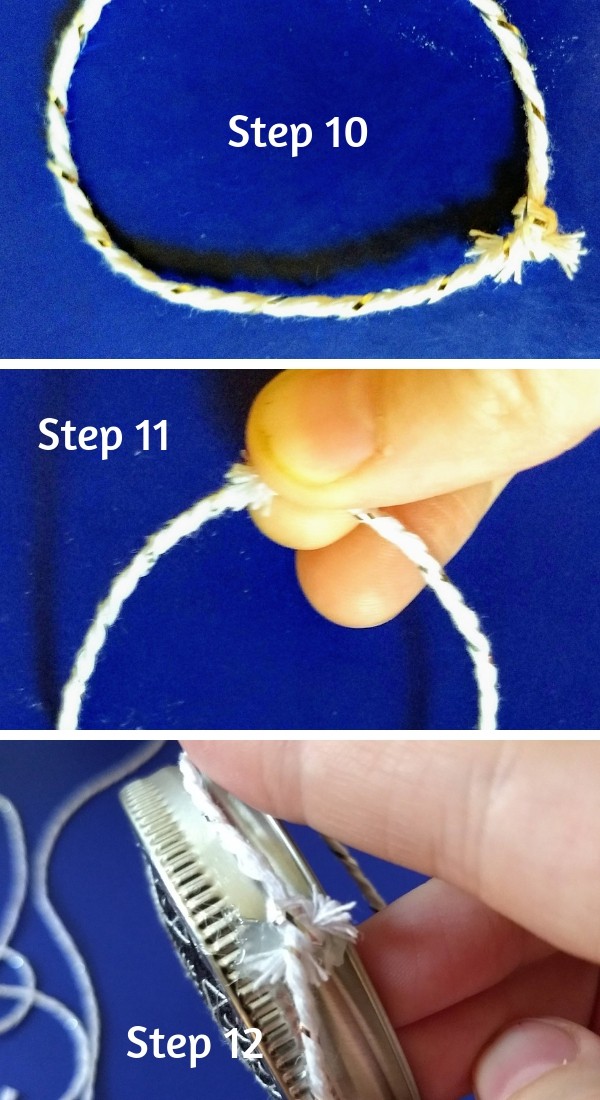
Step 10: Tie the ends of the shorter piece of twine together a couple of times to make a knot. Trim any excess twine as close to the knot as you can without it unraveling.
Step 11: Press the knot in between your thumb and index finger to make it lay as flat as possible.
Step 12: Check the front of the mason jar lid to see where you want the ornament hanger to be in relation to the embroidered pattern, then add a dab of hot glue in the middle of the side of the lid and glue on the hanger. Press down the twine where you flattened it out in step 11.
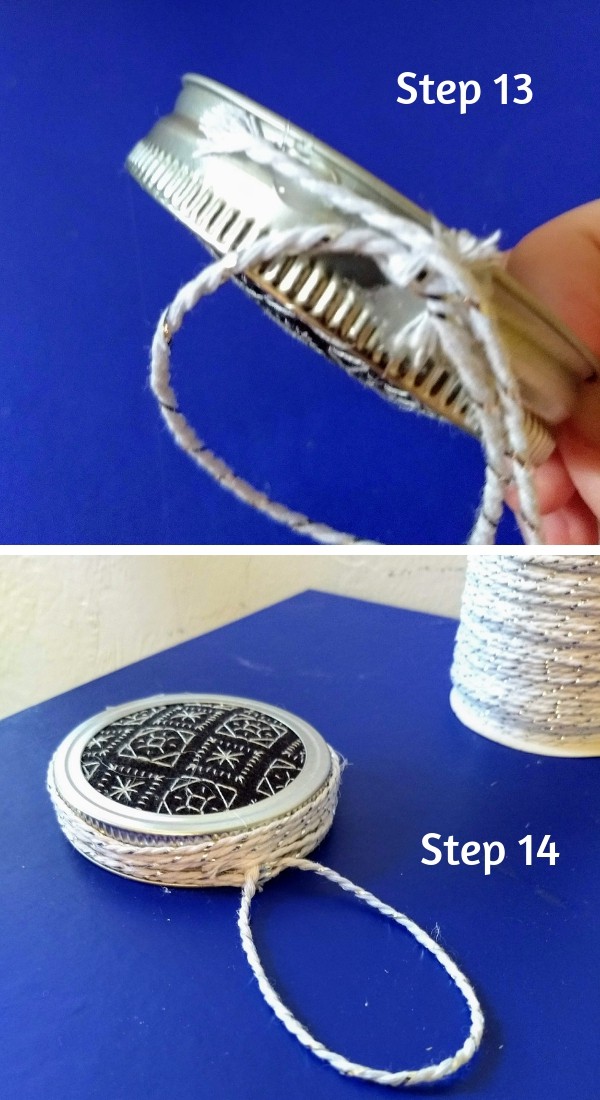
Step 13: With the longer piece of twine, add a dab of glue to the lid close to the lip and attach the twine. Roll the twine around the lid a couple of times behind the ornament hanger to hide the knot from step 12, then do the same in front of the ornament hanger until the twine ends.
Step 14: Glue the other end of the twine down. Somewhere in the middle of the rows of twine is better so that the end is not visible from the front. I liked it best when the rows of twine overlapped a bit and didn't sit neatly on the lid, but play around with yours.
If you end up making these ornaments, please tag me on Instagram (@make.it.with.heart) or put it in the Tried section on Pinterest. Can't wait to see how yours turn out! xoxo
Pin it for later:
